We Care about Your Appliances

San Diego Appliance Repair is a locally established and operated appliance repair company specializing in San Diego Washer Repair, San Diego Dryer Repair, San Diego Refrigerator Repair , San Diego Dishwasher Repair, San Diego Stove Repair, San Diego Oven Repair, San Diego Microwave Repair and San Diego Disposal Repair. We have much more to offer than other local contractors.

We provide Same Day Service 24/7 $10 Service call is free with the repair $15 off coupon online

California Certified Technicians for all appliance brands Low price Guarantee We serve all San Diego County. Satisfaction Guaranteed or Your Money Back!

Emergency Calls 24/7

858 405 1490

Below is a list of the neighborhoods in San Diego along with their corresponding ZIP codes that we provide services:

Central San Diego

  1. Downtown San Diego – 92101
  2. Little Italy – 92101
  3. Gaslamp Quarter – 92101
  4. Bankers Hill – 92103
  5. Hillcrest – 92103
  6. Mission Hills – 92103
  7. South Park – 92102

Northern San Diego

  1. North Park – 92104
  2. University Heights – 92103
  3. Normal Heights – 92116
  4. Kearny Mesa – 92111
  5. Clairemont – 92117
  6. La Jolla – 92037
  7. University City – 92122
  8. Carmel Valley – 92130

Southern San Diego

  1. Golden Hill – 92102
  2. Chula Vista – 91910, 91911, 91913, 91914
  3. National City – 91950
  4. Imperial Beach – 91932
  5. Otay Mesa – 92154
  6. San Ysidro – 92173

Eastern San Diego

  1. El Cajon – 92019, 92020, 92021
  2. La Mesa – 91941, 91942
  3. Santee – 92071
  4. Lemon Grove – 91945
  5. Rancho San Diego – 92019

Northern Coastal San Diego

  1. Carlsbad – 92008, 92009, 92010, 92011
  2. Oceanside – 92054, 92056, 92057
  3. Encinitas – 92024
  4. Solana Beach – 92075
  5. Del Mar – 92014

North Inland San Diego

  1. Poway – 92064
  2. San Marcos – 92069, 92078
  3. Escondido – 92025, 92026, 92029, 92033

Other Areas

  1. Rancho Bernardo – 92127
  2. Penasquitos – 92129
  3. Sabre Springs – 92128
  4. Tierrasanta – 92124
  5. Mira Mesa – 92126

All Brands Washer Repairs

Washer DIY Repair Tips
All Brands Dryer Repairs

San Diego Dryer DIY Repair Tips
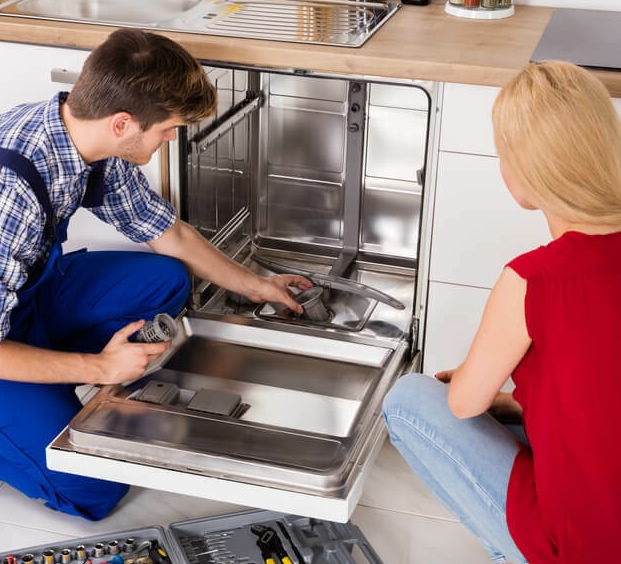
All Brands Dishwasher Repairs

Dishwasher DIY Repair Tips
All Brands Refrigerator Repairs

Refrigerator DIY Repair Tips
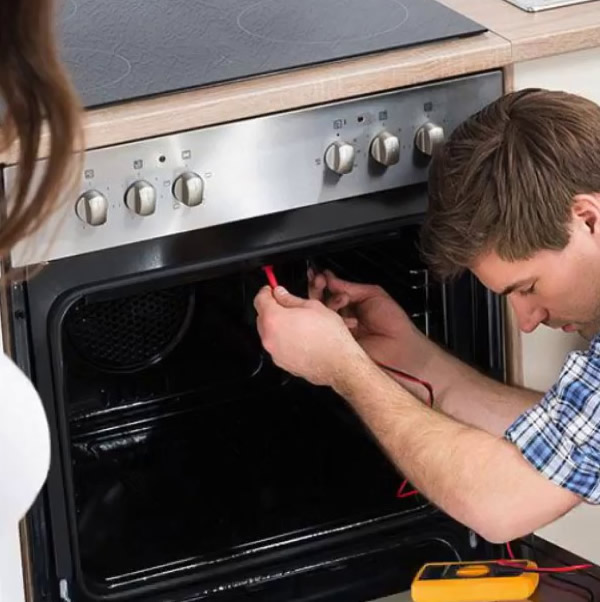
All Brands Oven and Stove Repairs

Oven and Stove DIY Repair Tips
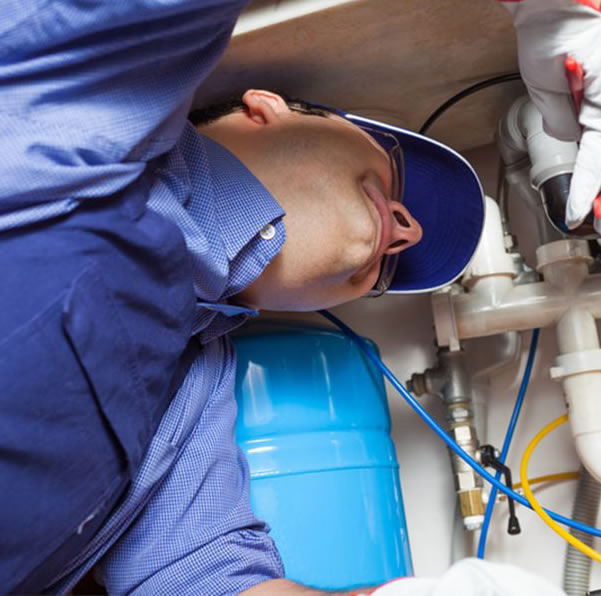
Garbage Disposal and Trash Compactor Repairs

Garbage Disposal and Trash Compactor DIY Repair Tips

Washer DIY Repair Tips

If your washer isn’t working: 1. Check if the lid is closed properly. 2..Ensure the timer and all controls are set correctly. 3. Make sure both water faucets are turned on. If the washer is moving around the floor: 1. Adjust the legs: The washer’s rear legs are often self-adjusting, but the front legs can be screwed in or out to balance the washer on uneven floors. 2. Lower the washer as much as possible: If the legs are extended too far, the washer will wobble. 3. Secure the legs: Tighten any lock nuts on the metal legs to prevent them from moving. 4. Check the floor: Washers are designed to sit on solid surfaces like concrete. If it's on a wooden floor, ensure it’s strong enough. Floors that move up and down may not support the washer well. Main floor laundry rooms usually have nailed-down floors, but if the sub-floor is screwed down, it’s more secure. In some cases, additional support under the floor may be needed. If the washer is leaking: 1. Inspect the water fill hoses for any cracks, blisters, or corroded fittings. These are signs of wear and can lead to leaks. Cracks indicate the rubber is breaking down. Blisters signal the hose may burst soon. Corroded fittings mean there’s a current or past leak. 2. Replace damaged hoses Water fill hoses should be replaced every 3 to 5 years, even if there’s no visible damage. Replacing hoses can prevent difficult-to-remove fittings when repairs are needed.
Go Back

Dryer DIY Repair Tips

Dryer Repair: Easy Tips to Troubleshoot If clothes aren’t drying properly: 1.Check airflow: Ensure the dryer isn’t pushed too close to the wall, blocking the exhaust duct. Pull the dryer out and unhook the vent from the back. Run a regular load without the vent connected. If the clothes dry better, the issue is likely with the vent (blocked vent pipe or restricted vent hose). 2.Check for lint buildup: If the vent isn’t the issue, look at the blower wheel for lint buildup.Important: Do not do this while the dryer is running. Also, check the air intake baffle (the screen inside the drum on the back wall) for any blockages, and make sure the lint filter chute is clear. 3.Check the washer: Make sure the clothes are coming out of the washer damp-dry. If the washer isn’t spinning the clothes enough, the dryer will struggle to dry them properly. Tech Tip: -Avoid overloading the dryer. - If drying just a few items, add other pieces of varying sizes to help the tumbling action and improve drying. - For dryers with an Auto-Dry cycle, very small loads won’t dry properly. Important Dryer Safety Tips: -Do not use white plastic exhaust duct on your dryer—it’s flammable and increases drying time. - Avoid using the foil-looking duct material as well.Only use flexible metal or rigid ducts. Cost of drying: - A typical load in an electric dryer costs about 30-40 cents, compared to 15-20 cents in a gas dryer.
Go Back

Dishwasher DIY Repair Tips

Easy to repair Tips If the dishes are not getting clean... Make sure the water is hot enough. It should be at least 140 degrees, which is hot enough to burn you - VERY HOT! If it is not hot enough, turn the hot water heater thermostat up to a higher setting. Make sure the lower spray arm is unobstructed and turning freely. More about dishwasher is posted on this website Make sure the bottom inside the unit is clean and free of debris. Clean your dishwasher filter. On many basic and/or European models, there's a filter near the bottom, or under the lower spray arm, that needs cleaning regularly. If you have this sort of filter, consult your owner's manual for how to remove and clean it. If the filter is damaged, replace it to protect the dishwasher's pump and motor seals. Make sure you are following the proper loading procedures. Use the proper amount of detergent and make sure the detergent is fresh (check expiration or "best if used by" date.) Read more If the door isn't closing... Make sure the latch assembly is unrestricted and latching properly. Make sure nothing is blocking the door from opening and closing properly. If the unit is leaking... Make sure you are following the proper loading procedures, including proper type and amounts of detergents. Run the unit through cycle while empty - if it doesn't leak, it's probably a loading problem. Make sure the racks are positioned properly. Make sure the door is unrestricted around the opening. Tech Tip - If the inside of your unit is beginning to brown and form mineral stains, put Limeaway (available at your grocery store) or Tang Citrus Drink into the tank during the wash cycle. The citric acid from these products will remove the mineral buildup and restore the finish. Tech Tip - If your machine is developing a film on the inside, put 6-7 drops of good-quality, name brand regular liquid detergent (for hand washing dishes) in the bottom and put the unit through a regular cycle. This procedure will wash away soap scum, mineral deposits and grit. It will also allow the machine to work better. IMPORTANT NOTE: Do not put more than 6-7 drops of liquid detergent. Be proactive, prevent potential floods! Similar site
Go Back

Refrigerator DIY Repair Tips

Easy-to-Fix Tips If your unit is not running or not cooling enough: 1. Adjust the thermostat: Turn the thermostat to a higher setting. If the unit starts running, let it run for 24 hours and check if the temperature is correct. 2. Clear airflow blockages: Make sure nothing is blocking the airflow around the unit (on top, underneath, behind, or beside it). There should be at least 3 inches of space around the unit. 3. Check the condenser coils: If there are condenser coils at the back of the unit, ensure it is a few inches away from the wall and that nothing is blocking the coils. The coils need space to release heat. 4. Clean the coils: For self-defrosting units, the coils and fan under the unit need regular cleaning. If they get covered with dust, dirt, or lint, the refrigerator may not cool properly. These coils often look like a thin, black radiator behind the lower kick panel. - How to clean: - Unplug the unit. - Use a condenser brush (available at appliance stores) and a vacuum cleaner to remove any dirt, lint, or pet hair from the coils. - You may need to clean the coils from both the front and rear of the unit. If the door is sticking or not closing properly: 1. Clean the door gasket: Wipe the rubber seal (gasket) with a wet rag to remove dirt or debris. 2. Check for blockages: Make sure shelves, drawers, or food inside the unit are not preventing the door from closing properly. If the icemaker has stopped making ice: 1. Check if the icemaker is off: Look for a wire near the icemaker that looks like a coat hanger. If the wire is in the raised position, the icemaker is off. Lower the wire to turn it on. Some models have a red plastic lever that you lower to turn it on. 2. Check the freezer temperature: The freezer should be between 0-8°F. If it's warmer than 10-12°F, the icemaker may not make ice. 3. Check door seals and thermostat: If the icemaker is still not working, inspect the door seals and thermostat, and repair or replace them as needed.
Go Back

Oven and Stove DIY Repair Tips

Oven Won't Bake or Broil: 1. Check the clock settings: If neither the bake nor broil elements are heating, but the range burners are working, the clock might be set for a timed or self-cleaning cycle. Double-check the clock buttons and knobs to make sure they’re set correctly. - If your oven has a knob labeled “push for manual,” push it in and try the baking and broiling elements again. 2. Thermostat or selector switch issue: If the clock settings are correct and it still doesn't work, the problem might be with the thermostat, selector switch, or wiring. These parts can be difficult to test yourself, so it’s best to call a professional technician. Oven Door Won't Close: 1. Bent or warped door: If the door is bent (possibly from placing something heavy on it), you may need to remove and straighten it. Most oven doors can be lifted off the hinges by opening the door slightly and lifting it up. 2. Worn or damaged hinges: If the hinges are bent, damaged, or worn, they may need replacing. It’s recommended to replace both hinges at the same time to avoid uneven wear. Self-Cleaning Problem: 1. Understanding the self-cleaning function: The self-cleaning feature on gas ovens can be complicated. Make sure to read the owner’s manual to understand how to set it up properly. If you're still having trouble, contact a qualified technician for help. Gas Smell: 1. Gas leak warning: If you smell gas (other than briefly when lighting a burner), it could be dangerous. - Immediately turn off the gas to the appliance. - Call your local gas company to find the source of the leak. - If the issue seems to be with the appliance itself, contact a qualified technician to diagnose and fix the problem. Electric Stove - If the burners are not heating: 1. Check burner placement: Make sure the burners are sitting properly and are in their correct positions. 2. Check power: Test if the stove is getting power. Does anything turn on (like a light)? If not, check for a blown fuse or a tripped circuit breaker. 3. Inspect the power connection: Sometimes, the main wiring connection from the house to the stove can burn out, breaking the power connection. If this happens, you may need to replace the power cord and the terminal block (the part where the wire attaches to the stove). - Important: If you repair any wires, make sure to use appliance-grade wire and connectors. - Check for any broken or burned wires at the back of the stove. 4. Burnt-out heating elements: Heating elements can burn out over time. You might notice that the coil is broken or has blisters and bubbles. - If an element burns out, it must be replaced because it can’t be fixed. If the infinite switch (the part that controls the element) also fails, you’ll need to replace that too. Gas Stove - If the top burners are not lighting: 1. Pilot light issues: Gas stoves sometimes need the pilot light to be adjusted or relit. Most problems with gas stoves should be handled by a technician, but you can try simple fixes. 2. Uneven flames: If your burner flames are uneven, clean the burner ports with a paperclip. 3. Dirty burner caps: If the burner caps are removable, clean them with a mixture of ammonia and hot water. 4. Flame problems: If the flame is too high, noisy, or yellow, the air-gas mixture may need to be adjusted by your gas company. 5. Clogged burner or pilot ports: If your pilot light is on but the burner won’t light, the burner or pilot ports may be clogged. To fix this: - Lift the top of the stove and remove the burner assembly. - Use a straightened paperclip to clear the clogged ports. - Clean the burner head with a mixture of ammonia and hot water, and make sure it's completely dry before re attaching it. Moisture can prevent it from lighting properly.
Go Back

Garbage Disposal & Trash Compactor DIY Repair Tips

If the Disposal Jams or Hums: 1. Turn off the unit: First, turn the disposal off. 2. Remove any debris: Check the grinding chamber for anything that may have fallen in and remove it. 3. Use an unjamming tool: Insert the unjamming tool into the bottom of the disposal and turn it clockwise. Once it moves freely, remove whatever was causing the jam. If the Disposal is Dead: 1. Press the reset button: There’s a red reset button located at the bottom of the disposal. Press it. - If the machine hums but trips the reset again, it’s still jammed. Repeat the steps above (removing debris and using the unjamming tool). Tech Tip: - Always use cold water when running the disposal. Run the water a few minutes before, during, and after using the unit. - The cold water helps move the waste through the pipes and prevents clogs. - Running water before use coats the pipes, while running it during helps liquefy the garbage. After use, it helps wash down any remaining food particles to prevent odors. - Clean the disposal: To freshen it up, put ice cubes and lemon peel into the disposal, run it for 30 seconds, and then flush with cold water. - You can also use special disposal cleaners or degreasers. Important Notes: - Avoid using chemicals to break up clogs. Chemicals can damage pipes and cause a bigger mess later on. - Clogs are normal with disposals, but regular maintenance can help keep things running smoothly.
Go Back